

Why a Systematic Process Beats Impulse Searching
Airfare pricing is dynamic - the same seat on the same flight can change price multiple times in a single day based on demand, remaining inventory, and algorithmic adjustments. Travelers who search reactively, booking the first fare that looks reasonable, frequently overpay compared to those who follow a consistent, structured process.
This walkthrough is designed for travelers who already understand basic trip planning and want a repeatable method - not a one-time hack. For broader context on the strategies behind these steps, the Booking & Timing Tips hub covers timing and decision-making in depth. If you're new to fare hunting entirely, start with what to know before your first flight search before continuing here.
What you will need
Flexible-date flight search tool
Displays a fare calendar or grid so you can compare prices across multiple departure dates at once.
Airline website
Used to verify the fare found on aggregators and complete the booking with direct protections.
Incognito or private browser window
Prevents search history from influencing dynamically priced fares during your research session.
Spreadsheet or notes app
Track fare options, fee breakdowns, and routing alternatives across multiple searches.
Step-by-Step: From Search to Confirmed Ticket
Follow these steps in sequence. Each one builds on the previous - skipping steps, particularly the fee-calculation step, is where most travelers lose savings they thought they'd locked in.
Open a flexible-date search in a private browser window
Start every search in an incognito or private window. While the evidence on price inflation from repeated searches is mixed, it eliminates any variable you don't control. Use a flight search tool that offers a date-grid or fare-calendar view - this shows prices across a range of departure and return dates simultaneously rather than forcing you to enter one date at a time.
Enter your origin and destination as usual, but instead of selecting a single date, choose the flexible or "whole month" view. Note the lowest fares displayed and which date combinations produce them.
Widen your origin and destination options
If your target destination has more than one nearby airport, search both. A drive of one to two hours to an alternate departure airport can offset itself in savings on longer hauls. Similarly, consider whether a nearby destination city serves your actual goal - a trip to a metropolitan region may have multiple reasonable gateway airports.
Also search one-stop itineraries alongside nonstop. On many routes, a connection adds under two hours of total travel time but reduces the fare noticeably. Use the routing information to evaluate the tradeoff honestly for your trip.
Identify the true all-in cost before comparing fares
A base fare is not the price you pay. Before comparing any two itineraries, add:
- Checked baggage fees - these vary widely by carrier and fare class
- Carry-on bag fees - now common on basic economy fares on major carriers
- Seat selection fees - optional, but relevant if seating matters to you
- Change and cancellation fees - critical if your plans could shift
A fare that appears $40 cheaper may become more expensive once fees are applied. Build the comparison in a notes app or spreadsheet so you're working with verified totals.
Verify the fare directly on the airline's website
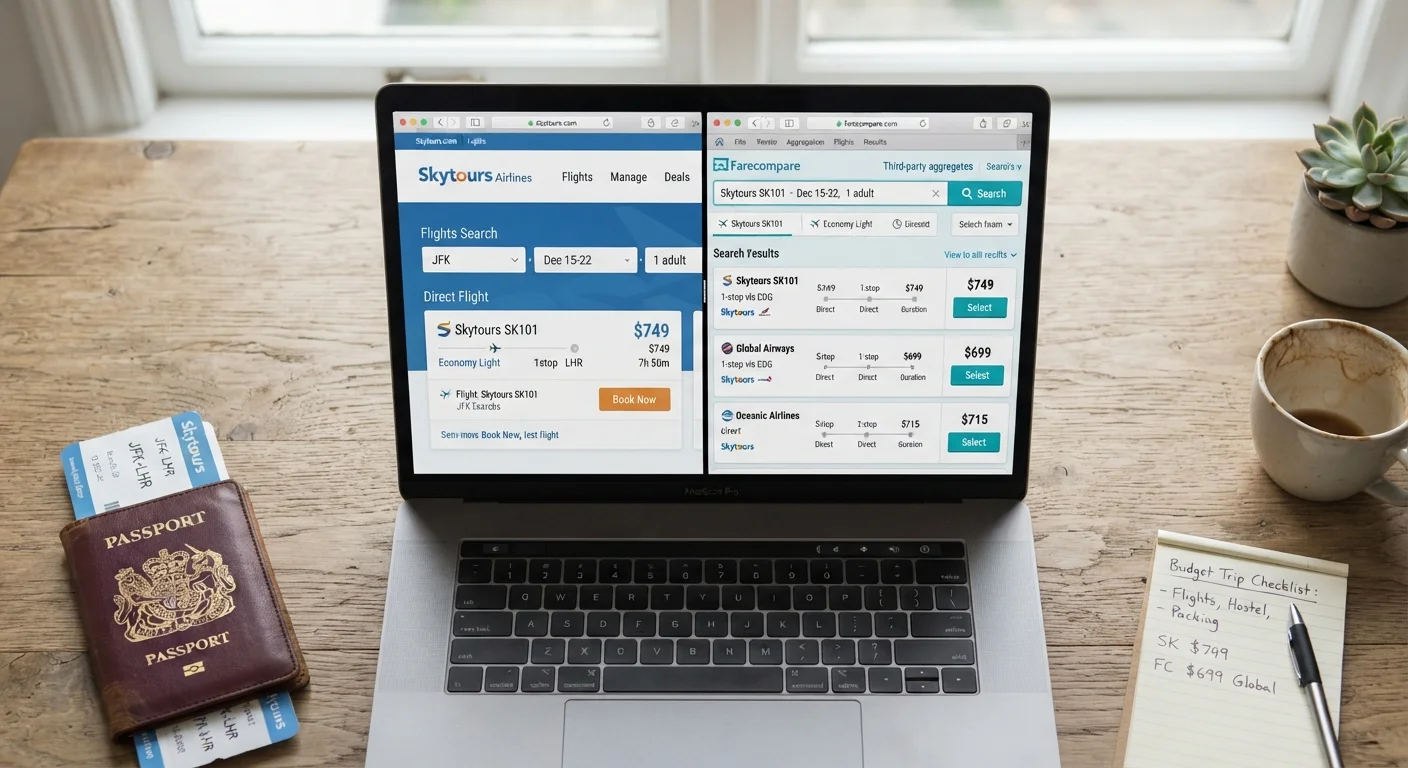
Once you've identified a competitive itinerary through a search aggregator, navigate to the airline's own website and search the same routing and dates. Confirm the fare is comparable or lower, and note the booking conditions directly from the source.
Booking directly with the airline typically provides clearer refund processes and more straightforward support if the flight is disrupted. For a detailed look at when each approach makes sense, see booking direct vs. third-party sites.
Complete the booking and confirm every detail immediately
When you're ready to book, work through the checkout carefully. Confirm:
- Passenger names match government-issued ID exactly
- Departure and return dates are correct
- The fare class and included baggage allowance match what you compared
- No unwanted add-ons (travel insurance upsells, seat upgrades) have been pre-checked
After payment, save or screenshot your confirmation number and itinerary. Cross-check the confirmation email against what you selected - errors on passenger names or dates are far easier to correct within 24 hours of booking than later.
Hidden City Ticketing Carries Real Risks
Hidden city ticketing - booking a flight with a connection at your true destination and skipping the final leg - violates most airlines' terms of service. Airlines may cancel return legs, void frequent flyer miles, or close accounts if the practice is detected. This walkthrough does not recommend it as a routine strategy; understand the full risk picture before considering it. See lesser-known airfare tactics for a balanced breakdown.
Set a Fare Alert Before You Commit
Most flight search tools let you set a price alert for a specific route. If the fare drops after you begin monitoring, you'll receive a notification - useful when you have flexibility on timing but aren't ready to book immediately. Alerts cost nothing and remove the need to check prices manually every day.
Third-Party Booking Sites: Read the Fine Print
Aggregator and online travel agency prices can look attractive, but change and cancellation policies are often stricter and refunds harder to process than booking directly. Before paying through a third-party site, check what protections you retain. Our guide to booking direct vs. third-party walks through the key tradeoffs.
For a broader strategy view - including open-jaw ticketing, multi-city routing logic, and when positioning flights make sense - see lesser-known tactics experienced travelers use. For a more comprehensive end-to-end guide, The Complete Guide to Finding Cheap Flights covers every major approach in one place.