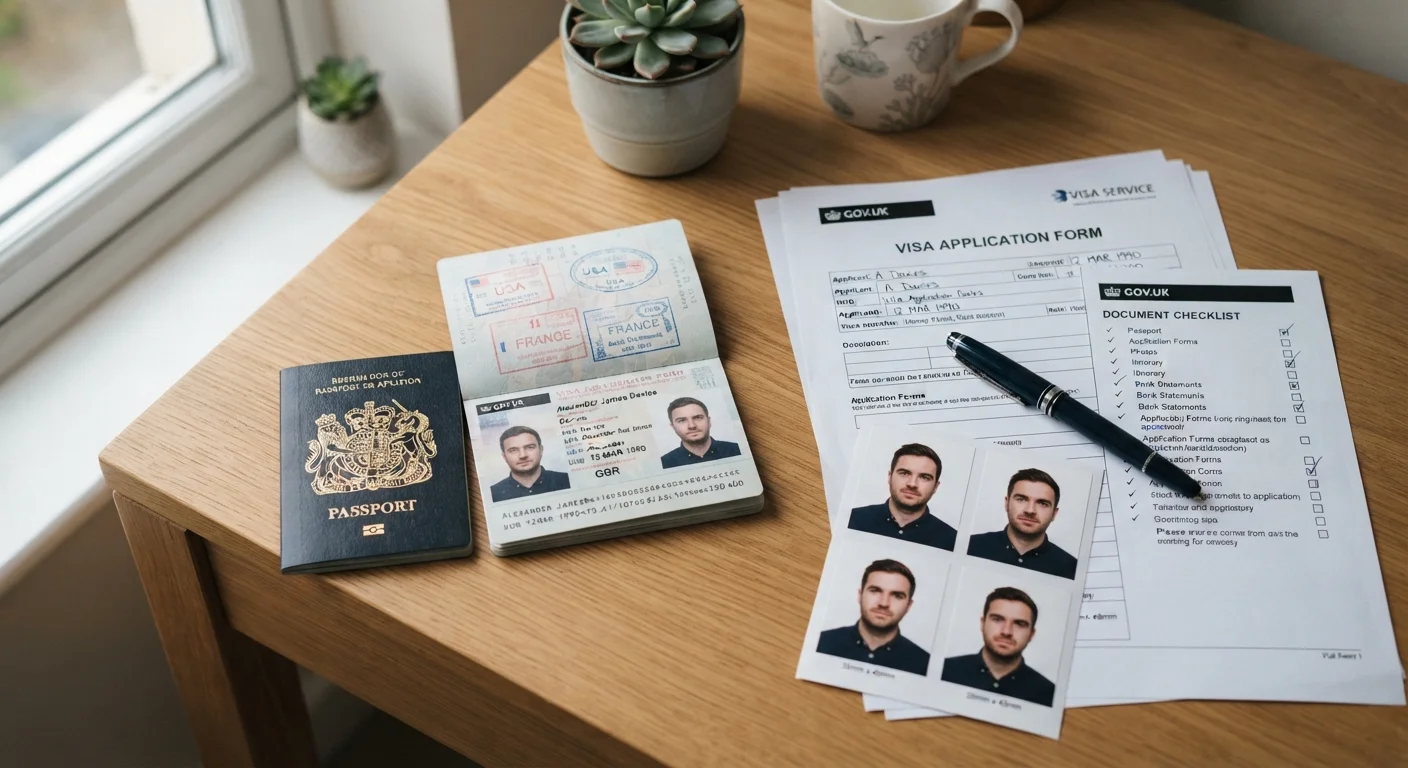
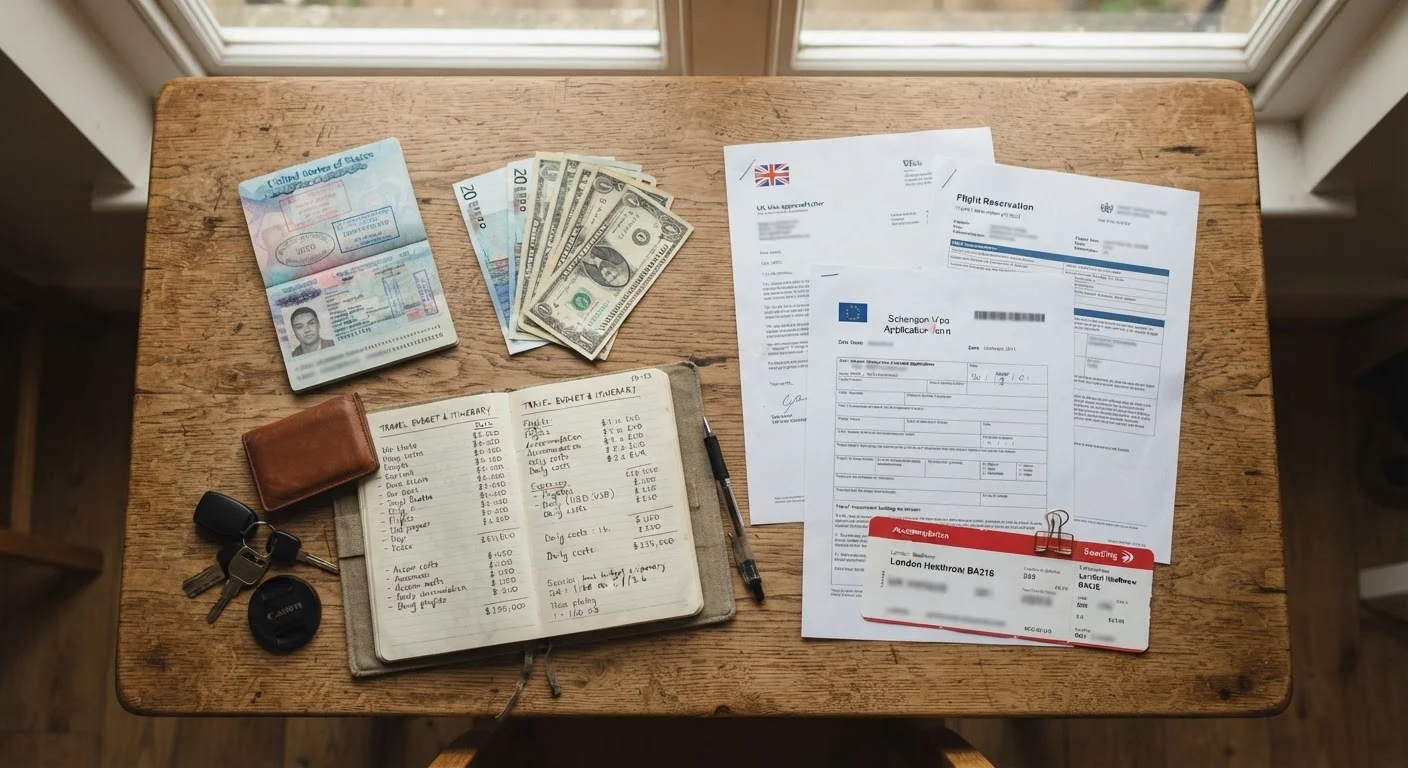
Run through every requirement — document quality, photo specs, fee payment, and form accuracy — before submitting your application.
Key Takeaways
A single missing or low-quality document is enough to trigger a visa rejection or costly delay.
Passport validity, photo specifications, and fee payment are the three most commonly overlooked pre-submission details.
Every consulate has specific requirements - always cross-check against the official embassy or consulate website.
Submitting too early or too late can be just as problematic as submitting incomplete materials.
Keeping a personal copy of every submitted document protects you if anything goes missing during processing.
Why a Pre-Submission Review Matters
A visa rejection isn't just a setback - it goes on your application record, can affect future applications to the same country, and often means forfeiting your application fee. Most rejections aren't caused by disqualifying travel histories or suspicious finances. They're caused by preventable administrative errors: a photo that doesn't meet spec, a bank statement that's a week too old, or a form field left blank.
This checklist is designed to catch those errors before they reach a consulate officer's desk. Work through each group methodically, ideally at least a day before your planned submission date, so you have time to correct anything that falls short.
For a deeper breakdown of what each supporting document actually proves and why consulates request it, see The Paper Trail Behind a Visa Application. And if you're unsure whether you're applying at the right point in your planning timeline, Timing Your Visa Application maps out processing windows and appointment wait times in detail.
Errors Cannot Always Be Corrected After Submission
Once a visa application is submitted - especially through an online portal or a visa application center - many fields cannot be edited. A name misspelling, incorrect date, or wrong passport number may require you to withdraw the application, lose your fee, and start over. Treat your pre-submission review as your last line of defense, not a formality.
The Pre-Submission Checklist
Run through each category below before clicking submit or sealing your envelope. Check items off only when you can confirm they meet the destination country's stated requirements - not just general standards.
Passport & Travel Document Review
Confirm your passport is valid for at least six months beyond your intended departure date from the destination country - many countries enforce this rule strictly.Must
Count the number of blank visa pages remaining in your passport; most consulates require at least two full facing pages.Must
Check that your passport is undamaged - water damage, torn pages, or a detached cover can result in rejection at the application stage or at the border.Must
If you hold dual citizenship, verify which passport to use for this application and ensure your travel bookings match that document.Should
Application Form Accuracy
Re-read every form field and confirm that names, dates of birth, and passport numbers exactly match the spelling and format on your travel document - no abbreviations unless the form requires them.Must
Verify that travel dates entered on the form align with your actual flight and accommodation bookings.Must
Ensure no fields are left blank; if a field is not applicable, write 'N/A' rather than leaving it empty.Must
Sign and date the application in the correct locations - unsigned forms are a leading cause of automatic rejection.Must
If applying on behalf of a minor, confirm that the correct parental or guardian signatures are in place as required by the consulate.Should
Supporting Documents
Confirm that bank statements or financial evidence cover the required time period (commonly the last three to six months) and reflect sufficient funds for your intended stay.Must
Verify that flight and accommodation bookings are confirmed and printable - some consulates will not accept screenshots or unconfirmed itineraries.Must
Check that any required invitation letter, sponsorship letter, or employment letter is on official letterhead, signed, and dated within the acceptable window.Must
Ensure all documents that require certified translation have been translated by an accredited translator, and that both originals and translations are included.Should
Confirm travel insurance documentation meets the destination's minimum coverage requirements, if applicable.Should
Passport Photo Specifications
Check the exact photo dimensions, background color, and recency requirement specified by the consulate - these vary by country and application type.Must
Confirm the photo shows a neutral expression, eyes open, and no glasses unless a medical exemption is documented.Must
Verify the photo was taken within the timeframe specified (commonly within the past six months).Must
For digital applications, check that the photo file size and format (JPEG, PNG) match the portal's upload specifications before attempting to submit.Should
Fee Payment & Submission Method
Confirm the exact fee amount on the official consulate or government immigration website - fees change periodically and unofficial sources are often outdated.Must
Verify the accepted payment methods; some consulates only accept money orders, certified checks, or specific online payment gateways - personal checks are frequently rejected.Must
If submitting by mail, use a tracked shipping service and include a self-addressed prepaid return envelope if the consulate requires your passport to be returned.Should
Make a complete photocopy or scan of every document in your submission packet before sending, and store copies securely.Nice to have
Don't Rely on Third-Party Checklists Alone
General checklists - including this one - are starting frameworks, not substitutes for the official requirements published by the destination country's consulate or immigration authority. Requirements differ by nationality, visa category, and even the specific consulate handling your application. Always verify every item against the official source before submitting. Entry requirements can change without broad public notice, so check close to your submission date.
Once you've confirmed your visa is in order, carry this same thoroughness into your broader pre-departure planning. The Pre-Departure Family Travel Checklist extends this logic to bookings, packing, and logistics - particularly useful when coordinating multiple travelers. Separately, if you're still evaluating whether the full cost of your trip adds up, the pre-departure budget checklist covers how visa fees fit into the broader financial picture of an international trip.
International Travel Editorial Team is the collective byline for our editorial team and contributor network. Articles published under this byline or an editorial pen name are researched, written, and reviewed according to our editorial standards for clarity, consistency, and independence before publication.
The content on this site is for informational purposes only and is not a substitute for professional advice. Always consult a qualified professional for guidance specific to your situation.