
Why Visa Timing Is More Complex Than It Looks
Most travelers think of visa timing as a single question: how long does it take to get approved? In practice, four separate variables intersect - and misreading any one of them can derail a trip or waste money. Those variables are: processing time, the consulate's accepted application window, appointment availability (when applicable), and the visa's validity period.
Understanding how these interact is the foundation of smart visa planning. For context on how different visa types operate - and which ones require embassy appointments versus online-only processes - see our overview of visa on arrival, e-Visa, and embassy appointment differences.
Validity Starts on Issue Date, Not Departure Day
Many visas - particularly single-entry tourist visas - begin their validity period the day the consulate approves them, not the day you board your flight. If you apply too early, your visa may expire before your return date or before you've used all permitted days. Always check whether the validity clock starts at issue or at first entry, and calculate your trip dates accordingly.
For trips crossing multiple visa regimes, timing complexity multiplies. Each country's application window, processing time, and validity period must be mapped together so all visas are simultaneously valid when needed. The multi-country visa sequencing guide addresses this in depth.
Destination Country's Official Consulate or Embassy Website
The authoritative source for current processing times, application windows, required documents, and validity rules.
U.S. Department of State Travel Website (travel.state.gov)
Provides country-specific entry requirements and advisories for U.S. passport holders.
Calendar or Spreadsheet Application
Used to map processing windows, validity periods, and application deadlines against your travel dates.
Passport (physical document)
Required to verify expiration date, remaining validity, and available blank pages before calculating timelines.
Step-by-Step: Mapping Your Visa Timeline
The steps below walk through a structured process for calculating when to apply, regardless of destination or visa type. Apply the same logic to each country on your itinerary.
What you will need
Confirm Your Travel Dates and Destination Entry Requirements
Before you can map a visa timeline, you need firm travel dates - or at minimum a defined travel window. Log into the official consulate website or check travel.state.gov to confirm whether your destination requires a visa for U.S. passport holders, and note the visa category you need (tourist, transit, business).
Also verify your passport's remaining validity. Many countries require your passport to be valid for at least six months beyond your intended departure date - an expired or near-expiring passport will disqualify your application regardless of timing.
Look Up the Official Processing Time for Your Visa Type
Processing times vary enormously - from 24 hours for some e-Visas to eight to twelve weeks for certain embassy-issued visas. Check the issuing consulate's website for the current standard processing window, not a third-party estimate, which may be outdated.
Note whether an expedited processing option exists and what it costs. Some consulates publish processing time ranges (e.g., "15-30 business days"); always plan to the longer end of that range to build in a buffer.
Identify the Consulate's Maximum Advance Application Window
Most consulates impose a window during which they will accept applications - commonly no more than three to six months before your intended first entry date. Submitting outside this window (too early) often results in automatic rejection or return of your application without review.
This maximum window is published on the consulate's website alongside processing requirements. Record both the earliest date you may apply and your hard deadline (typically one to two weeks before departure, accounting for processing time).
Account for Appointment Wait Times If an In-Person Visit Is Required
If your visa type requires an in-person appointment at a consulate or visa application center, check current appointment availability before planning anything else. At busy consulates - particularly in major U.S. cities during peak season - wait times can stretch six to twelve weeks or more.
Go to the consulate's appointment booking portal and check live availability. If slots are scarce, this becomes your primary scheduling constraint, overriding everything else. You may need to look at alternate consular jurisdictions if you are permitted to apply outside your home district.
Calculate Your Ideal Application Date Using All Variables
With all four variables confirmed - travel dates, processing time, application window, and appointment availability - you can calculate your target application date. Work backwards from your departure date:
- Subtract the maximum processing time (use the longer estimate) from your departure date to find your latest possible submission date.
- Compare that against the consulate's earliest acceptance date to find your valid application window.
- If an appointment is required, identify the earliest available slot that falls within that window.
Your ideal submission date is typically two to four weeks inside the earliest allowed date - early enough to catch delays, late enough that your visa's validity period still covers your full trip.
Submit and Monitor Your Application Status
Submit your completed application on your target date. Most consulates and official portals provide a tracking reference number - record it and check status regularly, especially as your departure approaches. If processing exceeds the stated window without an update, contact the consulate directly through official channels.
Once approved, verify that the visa's validity dates, permitted stay duration, and entry type (single, double, or multiple entry) all match your itinerary. A mismatch - such as a single-entry visa when you plan to exit and re-enter the country - must be resolved before travel.
Build a Personal Visa Timeline Document
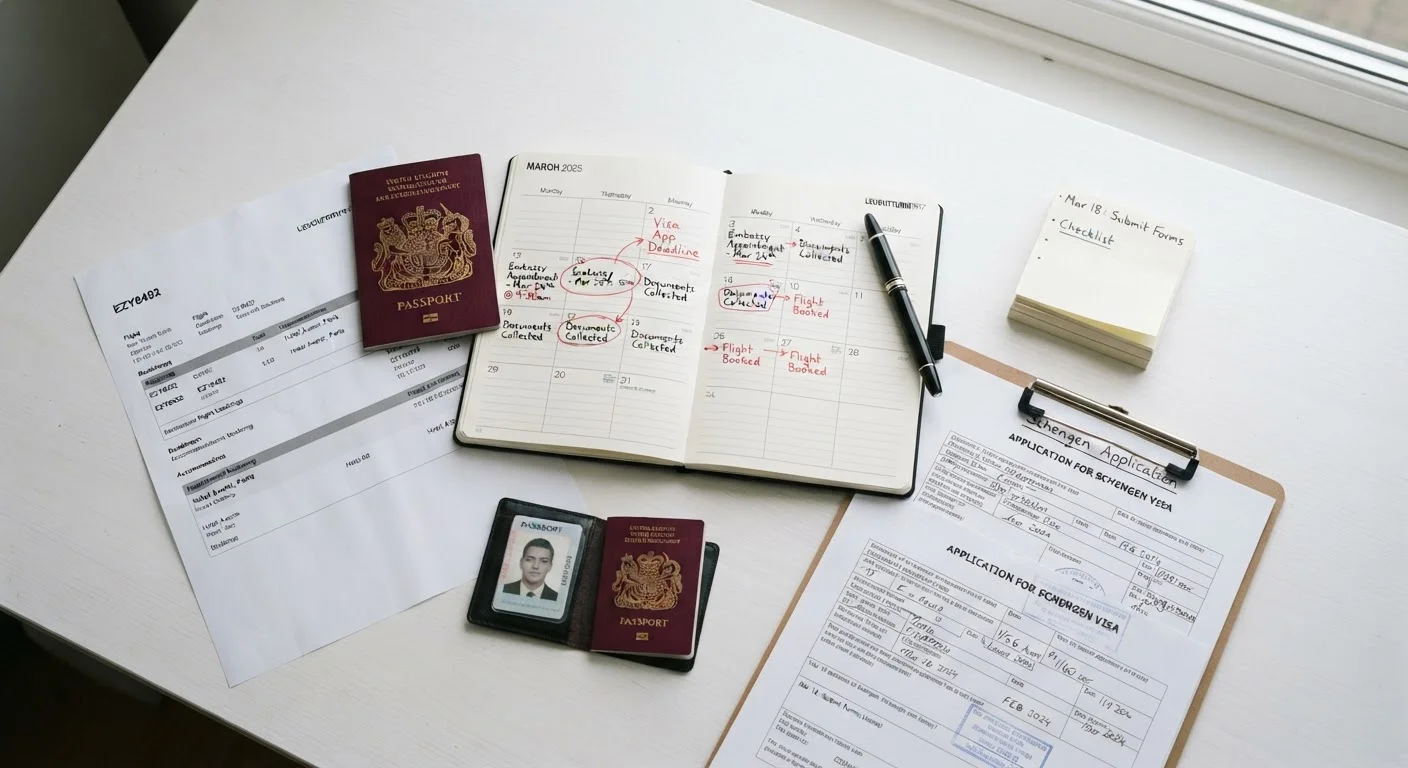
Create a simple spreadsheet listing each destination on your itinerary, its visa type, the earliest and latest application dates, estimated processing time, and validity window. Updating this document as you gather official information keeps your planning grounded in facts rather than assumptions. This is especially valuable for multi-country trips where timing overlaps matter.
Don't Book Non-Refundable Flights Before Confirming Visa Eligibility
Locking in non-refundable travel before you have a confirmed visa - or even before confirming your eligibility - creates serious financial risk. Visa refusals do happen, and most airline tickets and hotel bookings will not be refunded in that scenario. Confirm your eligibility and, where possible, use flexible bookings until your visa is approved.
Entry requirements, processing times, and visa validity rules change periodically. Always verify current information directly with the issuing consulate or through official government sources - including travel.state.gov - before submitting an application or booking non-refundable travel.