

Why Most Price Alerts Fail Before They Start
Price alerts are one of the most underused tools in a budget traveler's kit - not because the technology is unreliable, but because most people set them up carelessly and then wonder why the notifications feel useless. The typical mistake: entering a single departure date, leaving the threshold on the default setting, and checking one platform. The result is either a flood of minor-fluctuation alerts that get ignored, or total silence because the alert was configured too narrowly to catch anything real.
Getting alerts to work requires a small upfront investment in setup. The steps below walk through each configuration decision in order. For travelers who want to understand how price alerts fit into a broader fare-hunting strategy, the logic here applies directly to the full workflow of finding low airfares before booking.
What you will need
Setting Up Your Alerts: Step-by-Step
Follow the steps below in sequence. Each builds on the one before - skipping the baseline step, for instance, makes the threshold step meaningless.
Flight search platform with alert functionality
Monitors your saved route continuously and sends notifications when the fare moves.
Email or push notification access
Delivers alert notifications promptly so you can act before a fare disappears.
Spreadsheet or notes app
Tracks your baseline fare, alert thresholds, and the dates you set each alert for easy comparison.
Record your baseline fare before setting anything
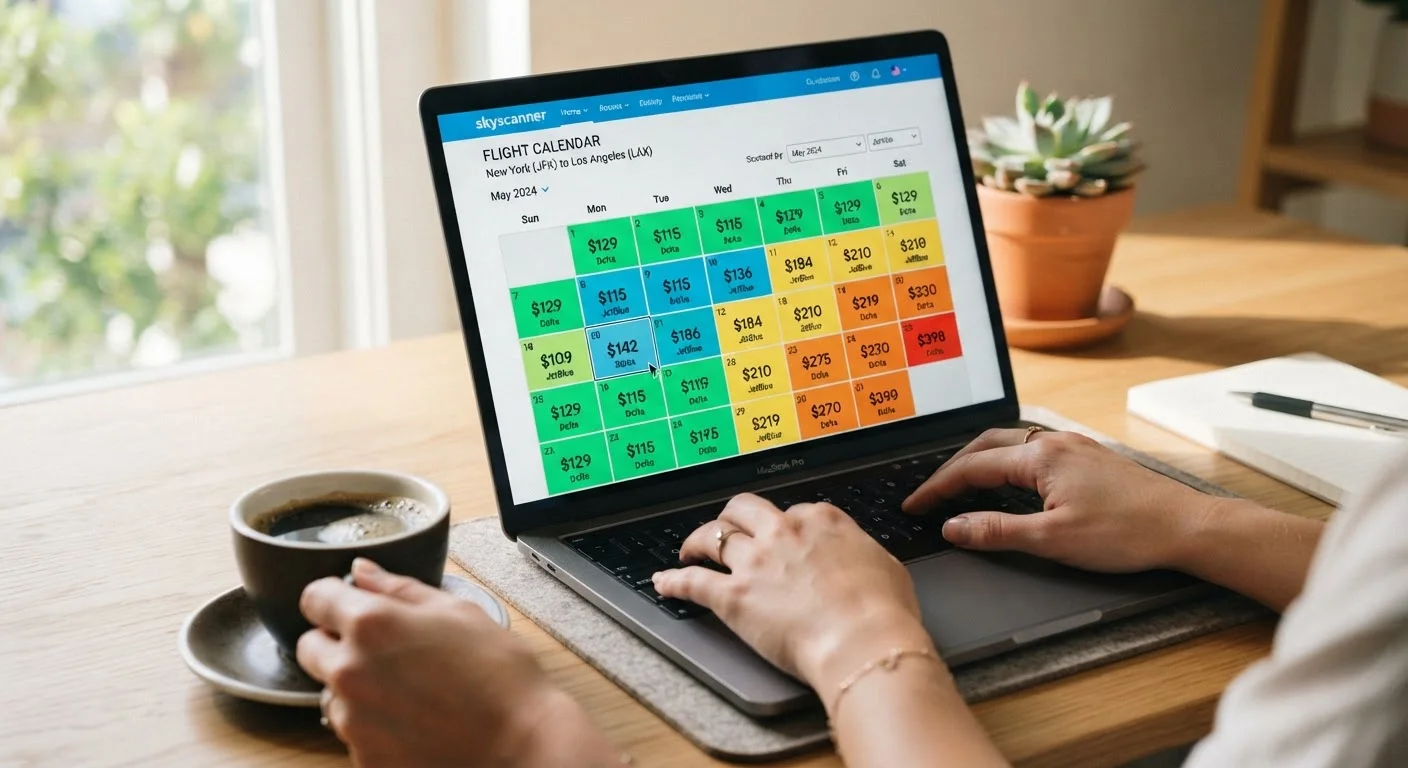
Run a clean search for your route and note the lowest economy fare you see across at least three different days in your travel window. Write down the price, the airline, and the date you searched. This baseline is your benchmark - without it, you have no way to judge whether an alert notification represents a genuine drop or just normal fare fluctuation.
Set the alert for a date range, not a single date
Most alert platforms let you specify a flexible window rather than a fixed departure date. Use it. Setting an alert across a 10-14 day window dramatically increases the chances the system catches a meaningful drop, because airlines don't discount all dates equally. If your travel is anchored to specific dates, still set a secondary alert one or two days either side - you may find a fare low enough to justify adjusting plans.
Choose a meaningful price threshold
Many platforms default to alerting on any price change, which generates constant noise. Set your threshold manually at 10-15% below your baseline fare. On a $400 baseline, that means you only want a notification when the fare hits $340-$360 or lower. This filters out minor fluctuations and ensures each alert signals something worth acting on. Understanding what drives these drops in the first place will sharpen your instincts - see The Anatomy of a Flight Price Drop for context on why fares move when they do.
Activate alerts on two platforms simultaneously
No single platform monitors every airline's inventory with equal accuracy. One tool may have strong coverage of low-cost carriers while another surfaces full-service airline sales faster. Running parallel alerts on two platforms for the same route takes only a few extra minutes and meaningfully reduces the chance of missing a deal. For a broader look at how these tools compare, Airfare Calendars, Fare Alerts, and Price Trackers: Which Tool Actually Works? breaks down the practical differences.
Act quickly and verify directly when an alert arrives
When a notification lands, open it immediately - low fares on competitive routes can disappear within hours. Go directly to the airline's own site or the booking platform and confirm the price in a private browser window before doing anything else. If the fare matches or beats your threshold, decide within that session. Waiting until the next morning to think it over often means the window has closed.
Review and reset alerts every two weeks
Alert baselines go stale. If fares on your route have generally risen since you set the alert, your threshold may now be unreachably low and you'll never hear from it. Check in every 10-14 days: re-run a fresh search, update your baseline if necessary, and adjust the threshold accordingly. Delete alerts for routes you're no longer seriously considering - dead alerts clutter your inbox and slow your response to live ones.
Use Incognito Mode When Verifying Prices
Some booking platforms adjust displayed prices based on your browsing history and repeated searches. When you click through from an alert to confirm a fare, open the link in a private or incognito browser window to see the price without session-based inflation.
Alerts Notify - They Don't Book
A price alert is a monitoring tool, not a booking guarantee. When you receive a notification, the fare may already have changed by the time you open it. Always verify the current price directly on the airline or booking platform before completing a purchase. Never assume the alerted price is still live.
Common Pitfalls After the Alert Is Live
Even well-configured alerts can be undermined by how travelers respond to them. The most common post-setup mistake is treating an alert notification as confirmation that the deal is booked - it isn't. Fares are dynamic; the price in your inbox is a snapshot from the moment the system detected it, not a guaranteed current price.
Avoid Alert Fatigue With Too Many Routes
Tracking more than four or five routes at once tends to produce a flood of notifications that most travelers start ignoring. Prioritize the two or three itineraries you are most likely to actually book. Noise undermines the entire purpose of the system.
A second pitfall is anchoring too hard to the alerted price after you've seen it. If you receive an alert for $310 and then check back a day later to find the fare is $330, that $330 may still represent a solid deal relative to your original $400 baseline. Don't let a missed exact price cause you to pass on a genuinely good fare. The flight savings strategies that work consistently are built on relative value judgments, not chasing a single number.
Finally, remember that alerts are one input, not the whole picture. Combining alert monitoring with flexible routing approaches can compound your savings considerably - see Setting Up Fare Alerts That Actually Work for an additional configuration perspective worth reviewing alongside this guide.